3D Animal Cookies
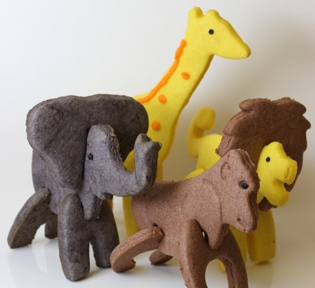
I’m obsessed with 3D cookies. They are are just as easy to make as regular cookies but when they come together at the end, it’s magical!
The assembly is the fun part because locking them together is like doing a puzzle, the outcome is worth the wait. By coloring the dough and only using frosting as an accent you minimize your time and can still get a uniquely beautiful cookie. (Info on where to purchase these cutters is in the bottom of the post.)
3D cookies make great party favors, put one at each place setting or wrap them up in cellophane for a take-home treat. I like to make a variety of cookies and gather them together to create a large engaging centerpiece. You can place them on tiered cake stands, cardboard rounds or even large cakes.
These cookies are perfect for a circus themed birthday or an animal themed baby shower. Edible favors and centerpieces are always the most welcomed parting gifts at events, your guests will be impressed and think you spent hours!
basic yellow/gray dough:
3 cups all-purpose flour
1/2 teaspoon baking powder
1/4 teaspoon salt
1 cup (2 sticks) un-salted butter
1 cup sugar
1 egg
2 teaspoons vanilla
food gel dye (yellow or black)
brown dough:
3 cups all-purpose flour
2 Tablespoons cocoa powder
1/2 teaspoon baking powder
1/4 teaspoon salt
1 cup (2 sticks) un-salted butter
1 cup sugar
1 egg
1/2 teaspoon vanilla
For all three doughs the directions are the same. Whisk the dry ingredients together in a bowl.
In the bowl of an electric mixer cream the butter and the sugar.
Add the egg and vanilla, mix well.
*For the colored dough, add a few drops of food gel dye until the desired color is achieved.
Add the flour mixture until combined. When it pulls away from the sides of the bowl, the dough is ready.
Wrap up the dough in plastic wrap. Refrigerate until you are ready to use.
Preheat the oven to 350 degrees. Prep baking sheets with silpats.
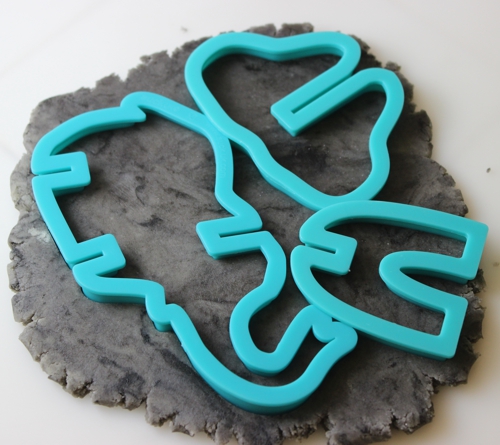
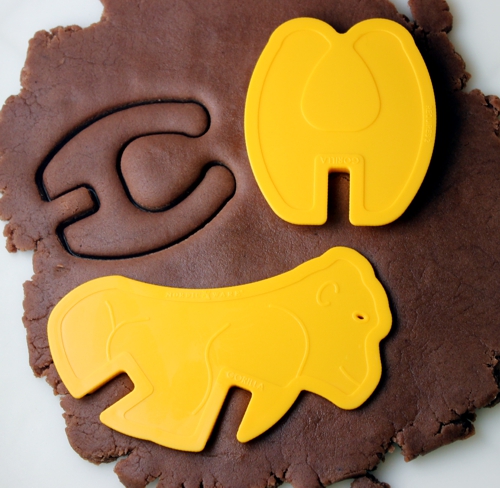
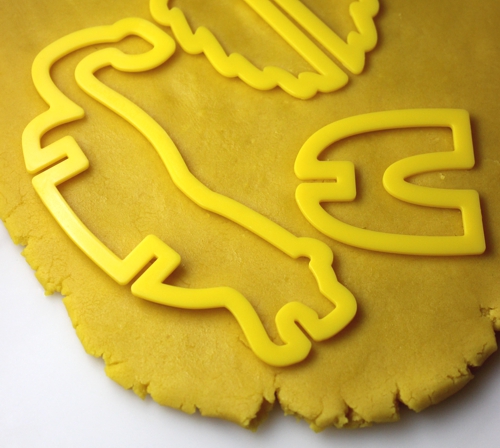
Roll out dough to 3/8â€. Since these cookies will stand up, the most important thing to remember is to cut TWO legs for the animals. Forget that and you’re sunk when you go to put them together.
Make sure the cutters are well floured and the dough is cool to the touch. Then cut out cookies and place them on prepped baking sheets.
Bake for 10-12 minutes. Then let them cool on a wire rack.
Now simply assemble the cookies and add a touch of frosting details if desired.
**Tips:
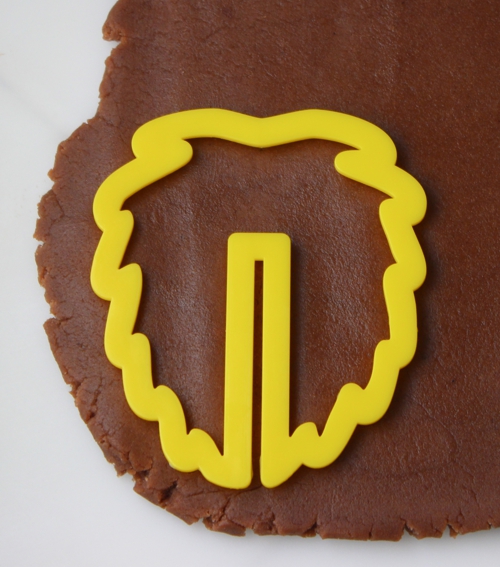
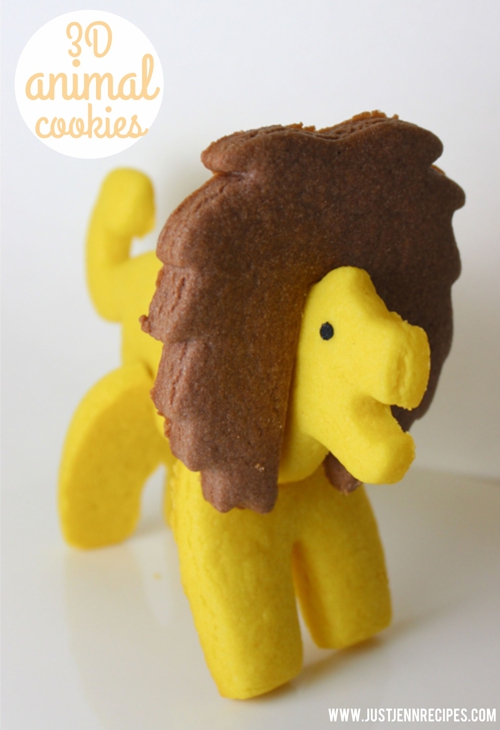
1. For the lion I cut his mane out of the brown dough to contrast the yellow color of his body.
2. If your cookies expand in the oven, you may need to cut the openings a little more to fit. Do this immediately after the cookies come out of the oven while they are still soft.
3. If you want the cookies to be sturdier when they stand, make a batch of Royal Icing and use it as a “glue” to at the joints for stability.
I found these very cool, minimalist animal cutters on Fancy Flours. If you buy them elsewhere on the internet you are not guaranteed your choice of animal cutter! However on Fancy Flours, you get exactly what you purchase which is a relief for a planner like me.
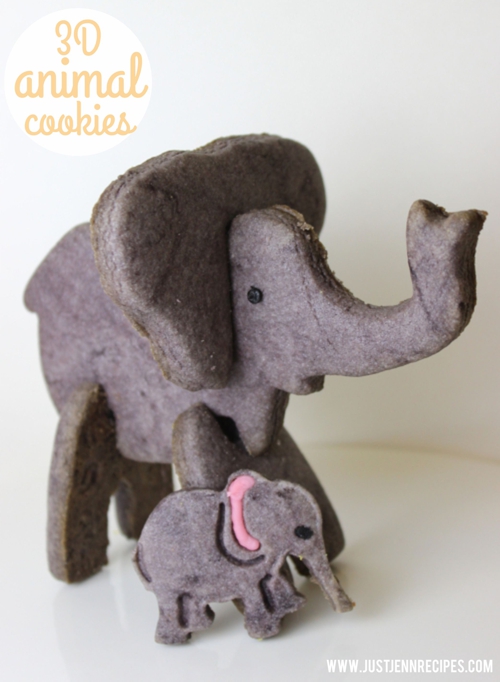
For these cookies I used the 3D Safari Lion, 3D Giraffe cookie cutter and the3D Elephant cookie cutter. The 3D gorilla cookie cutter was part of a different set made by Nordicware.
