Batman Pumpkin – how to
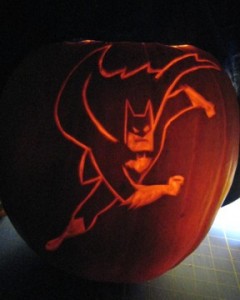
When I first learned how to carve a pumpkin, I mean really carve one – I was working in one of my first architecture firms and we were having a design competition (of course). Not wanting anything ‘crappy’, they taught us all the basics of carving, and I’ve never looked back. Every year I think about what I’m going to carve, but don’t get down to it ’til right before Halloween.
The Baby is waaaaay into Batman. So of course he wanted one carved into a pumpkin. I’d done Batman before, so this time I thought I’d do it with a little extra oomph. Action pose!
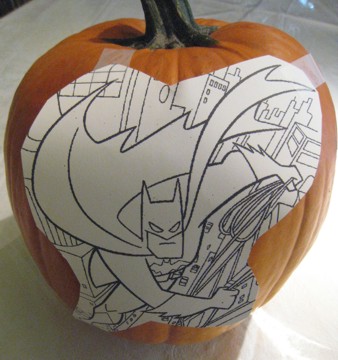
To start off, just print out something from the computer. Line weight and positive/negative space will help you out immensely – the simpler the better. (Or you can always freehand something, which is how I did the Peter Pan pumpkin.) Tape the image to the pumpkin.
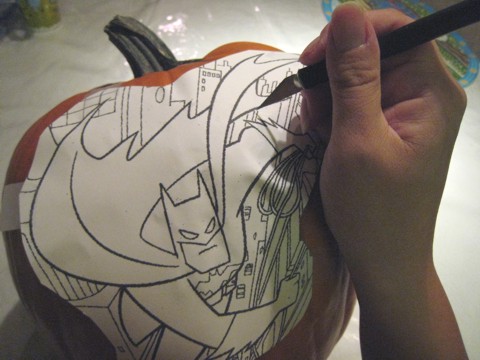
Now this is how *I* do it, I don’t necessarily recommend it, it’s just an old school way of doing it. I use and x-acto knife and punch holes (like tin-punching) all over the lines I want to carve. I even made a video, here:
Yep, the Baby is yelling “AGUA, AGUA!!” in the background. Sometimes he just yells BACON for no reason. Anyway, after you do all that punching…
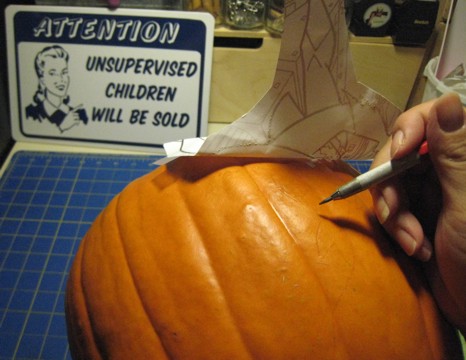
I trace the punched areas over with a pencil.
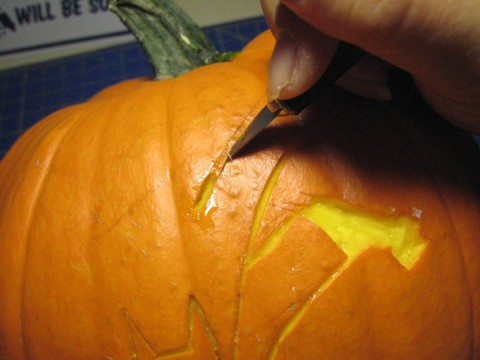
After you have your image on the pumpkin, start carving. I use and x-acto for everything only because I am comfortable with it. It gets tiny clean lines done easier and let’s you scrape away mistakes fairly easily. When you cut, your pumpkin will weep. It’s sad. No, seriously – with every cut, the juice will weep out, just dab at it with a towel and keep going.

Now, I clean out my pumpkin AFTER I’ve carved it. Weird I know, but I find it easier. Because here’s the trick – after you’ve taken out the guts and seeds, really scrape down the area behind the image you’ve carved. Try and get a 1/2″ to 1″ thick wall, but leave the rest of the pumpkin walls thick. Why? That way when you light it from the inside, your image will pop a lot better.
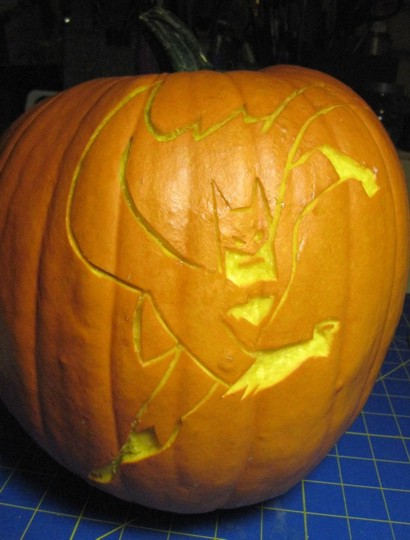
Here’s your final image, now…light it!
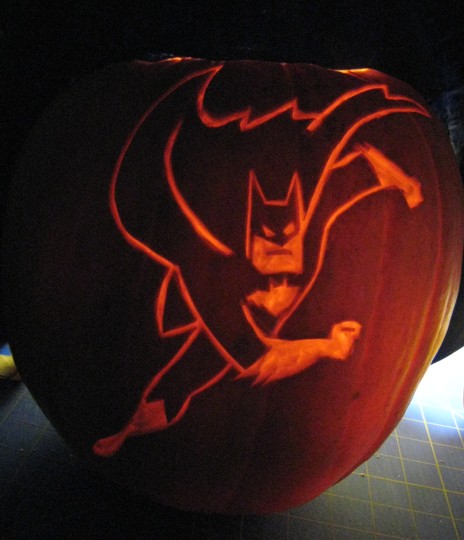
My advice? Pick something easy. 5 minutes into this one I was questioning my sanity, but only because I knew exactly how I wanted to to look. Thin outlines are time consuming pick something easier, with a lot of negative space. A LOT. Once you do one, they’ll just keep getting easier, I promise!


wow that looks great! we’re carving ours tonight- this was good inspiration! oh and when i watched the video my 20 month old daughter started saying agua agua- she’s in a bit of a parrot stage!
LOVE it, how fun! My 4 year old son would love this too!
Ha ha, does the Baby ever watch Dora the Explorer? That’s the only thing I can think of. Too cute!
Hi there! I love how you made this Batman pumpkin! You’ve got some raw talent. I’ve included a link to this blog post on my site Batman Pumpkin Stencils. I hope you don’t mind! Heather 🙂