Beauty and the Beast: DIY Chip Teacup
In Beauty and the Beast, Chip was young boy who worked with his mother in the castle. Once everyone in the castle was cursed, his mother turned into the teapot, Mrs. Potts, and poor Chip was turned into a teacup. His adorable face and signature “chip” brings so much joy to the movie, you just want to have a little Chip of your own.
Check your local Dollar Stores for teacups. Since you’ll be adding your own creative touches there’s no reason to spend a lot of money on this craft. This DIY is simple to make, you just need a few permanent markers and a steady hand. Go slow, add as many or as little details as you like and pretty soon you’ll have your very own happy teacup. While this one doesn’t sing, you can’t help but hum “Be Our Guest” while you’re creating him.
Check out Fandango for a look at my entire Beauty and the Beast dinner party.
*full disclosure: Fandango compensated me for this post. The opinions and ideas expressed are my own.

Beauty and the Beast: DIY Chip Teacup
Ingredients:
Teacup
Gold Sharpie Pen
Pink Sharpie Pen
Blue Sharpie Pen
Lavender Sharpie Pen
Black Sharpie Pen
Maroon Sharpie Pen
Instructions:
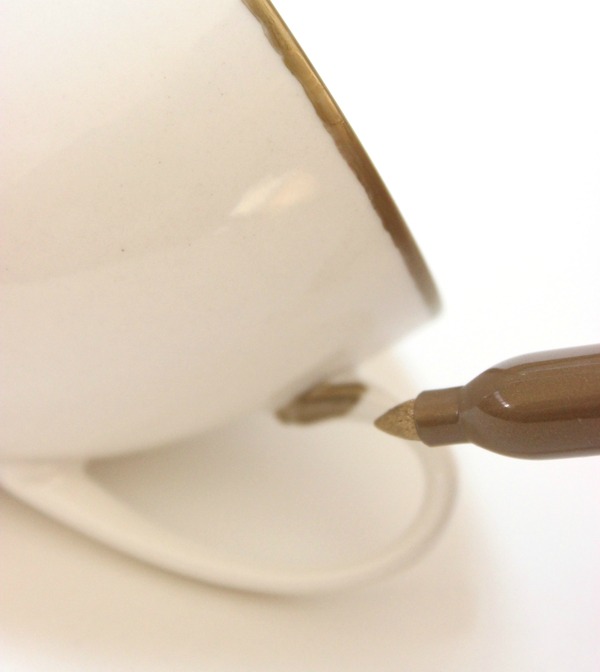
Use the gold Sharpie to outline the rim of the cup, a line 1/2-inch from the bottom of the cup, and a line around the bottom rim of the cup. Finally, use the gold pen to color in the handle, aka Chip’s “nose.”
Create a petal pattern between the two lower Gold rings at the bottom of the cup, alternating between the pink and the blue pens. With the lavender pen fill in the gaps between the petals to create a lavender background.
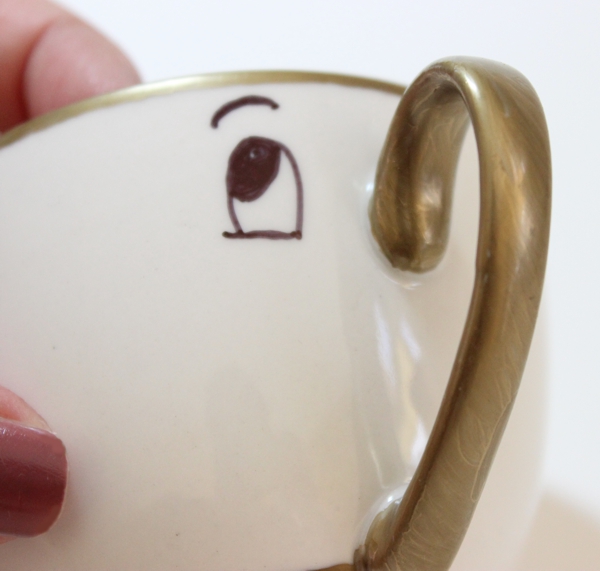
With the black Sharpie create Chip’s eyes, eyebrows, and smile. Use the pink pen to fill in his tongue and the maroon pen for the inside of his mouth.
When you’ve finished drawing, preheat your oven to 375 degrees. Place the teacup onto a baking sheet and place in the oven for 30 minutes. Turn the oven off and let the cup cool down. Once it’s cool to the touch, the cup is finished and ready to use.




Thank you for all of your help. Your carrier became superb and really FAST. Many thank you for you type and green carrier. I even have already and could clearly hold to advise your offerings to others withinside the future.Nice information! Thanks for this article