Chocolate Hello Kitty heads
Chocolate. Hello Kitty. What more could you want?
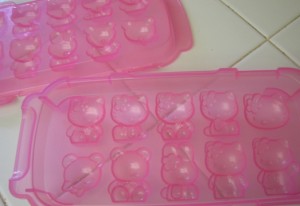
I adore ice cube molds – they are NOT just for ice. When I made little chocolate Lego men they were so cute – how could these Hello Kitty ice molds go wrong? Er…
ingredients:
6 ounces chocolate (I used Belgian : Callebaut)
In a double boiler melt down the chocolate until you get a nice runny consistency. Spoon or pipe the chocolate into the molds.
Using a toothpick I swirled the chocolate around a bit to get rid of any air bubbles and ‘dropped’ the mold once just to be sure there were no air pockets.
To set faster, I put the mold in the freezer for 5 minutes. Then just pop them right out! Easy, right? Uh oh.
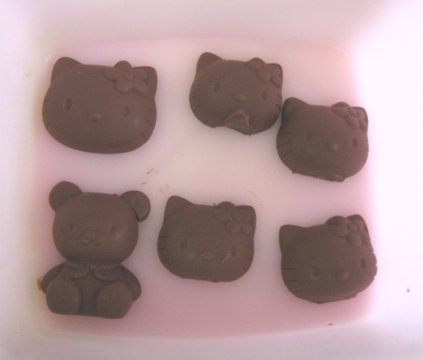
Hm. NOT so easy. Because this mold was hard plastic, not lovely silicone like the Lego mold, there were problems. Big problems. Loss of limbs. Crushed ears. Kitty carnage everywhere. So very sad. So I did what any good medic would do and SEVERED THOSE KITTY HEADS CLEAN OFF. It pained, me, but it had to be done.
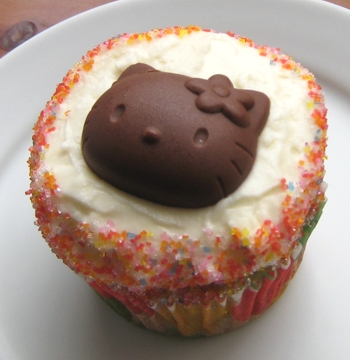
I hoped that when I placed them carefully with love on top of a cupcake no one would be the wiser. So I made up some Banana Cupcakes with Cream Cheese frosting…I know, I know, two things I hate: banana and cream cheese?? Don’t worry – these weren’t for me.
I think they still turned out adorable, but I am definitely going to try this again with a little more patience. Hopefully the poor kitties will survive next time…


This is so smart! I have this tray and never thought of doing this!
Tooo cute!
i have silicon hello kitty ice trays 🙂 i’m sure they’ll show up on ebay soon and you can use those instead!
btw i love your blog!
Super cute!
I love the colored sugar around the edges. Well done!
This blog was posted on a hello kitty facebook page, and I just have to say I love your site! I have now looked back all the way to the the first one. What awesome ideas you have. I can’t wait to try some of these! Great job! Thanks for all your knowledge and help.
The boyfriend’s niece has some of those ice cube molds and I think I’ll uh, go borrow them. But of course, I will let her have some of the cupcakes.
What a nice idea..I tried to find some Hello Kitty’s baking stuff to my Hello Kitty shop but infortunately, I didn’t..If someone knows..I will enjoy the information…
soooo cute! i love how they turned out!
A very interesting article. I intend to return to this site very soon.
This is really awesome, am a diehard hello kitty fan. From the pictures it seems your frosting is not those that melts easily. Can you share with me how the recipe for your frosting? Thanks alot
Nice Job, the only step you needed was to temper the chocolate, that way it will release from the mold properly and also give it a good shine.
Chocolate candy molds always used to be made of a stiff plastic. One “trick” to easy release is to give the molds a VERY light coating of vegetable oil. After you’ve done that it’s kind like “seasoning” a cast iron skillet. You don’t ever wash them with soap. Once the candy has set up, you give the mold a rap on the counter to loosen the chocolate, then tip them out.