Fondant ladybug cupcakes, how-to
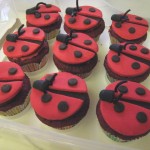
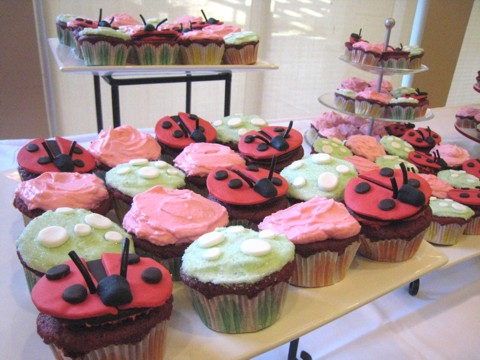
This weekend I made 120 cupcakes for a very special little girl’s 1st birthday. The theme was ladybugs and pink of course! I made red velvet cupcakes and topped them with fondant lady bugs.
ingredients:
24 cupcakes
frosting
12 ounces chocolate fondant
12 ounces white fondant (dyed with red gel coloring)
Dots candy – black (or licorice gumdrops)
Black licorice lace
I decided to use chocolate fondant for the base circle because sometimes dyeing fondant black seems to lead to leaking and trouble. These cute Thomas cupcakes turned out great, but after a while the black began to weep – not so cute. But those were eaten quickly and these I knew would be sitting out.
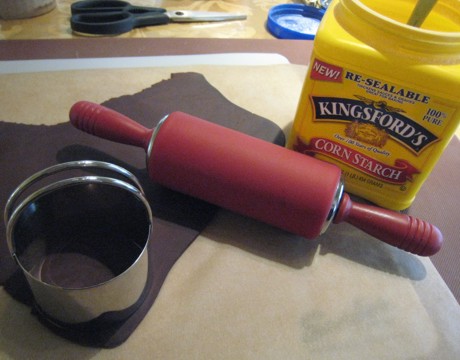
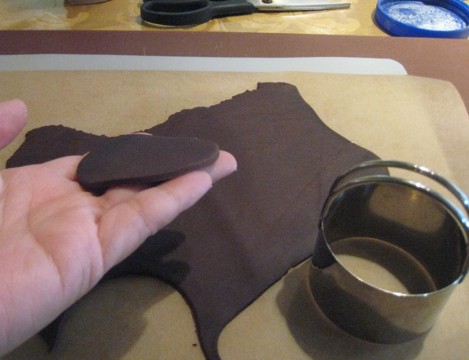
Roll the chocolate fondant out to 3/16″ of an inch. Try to keep it on the thin side because remember you will be stacking the red on top and you don’t want to weigh everything down. Use 2.5″ biscuit or circle cutter and out circles. Set them aside in an airtight container, sprinkling a little cornstarch on the bottom so they don’t stick.
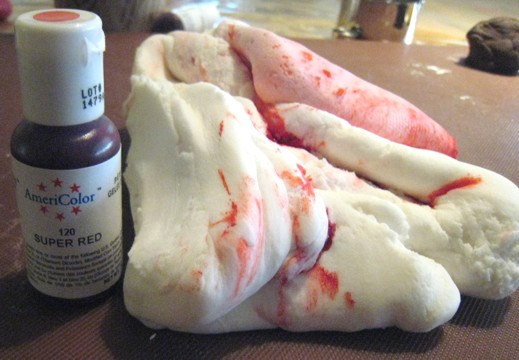
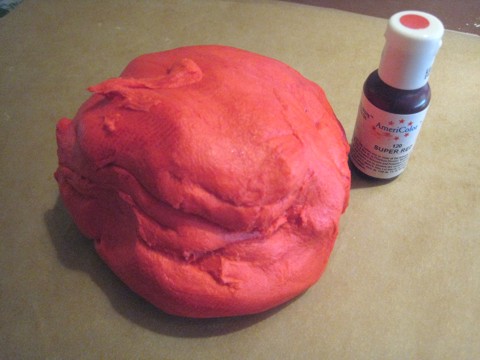
Now for the red – take white fondant and using red gel dye, dye it red. This is the best dye for this because doesn’t run and doesn’t take much. I advise using gloves whenever you dye fondant, people will ask questions about your bloody red hands, otherwise.
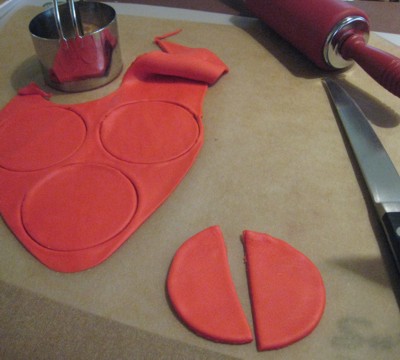
After I dye fondant I like to air it out a bit, it tends to get a little wet and sticky and way to hard to start rolling immediately. Once the fondant has dried out a bit, roll out the red to about 3/16″. Using the same 2.5″ circle cutter – cut out circles, but then cut them in half. Lay them on top of the chocolate circle, but splayed a bit, like wings. Again, but in an airtight container.

To make the ladybug dots, I used a small – TINY – cutter for the circles. However you can just take off a bit of fondant, roll it into a ball and then flatten it. That will also give you the perfect sized small dot. Place those on top of the red wings. If they are too dry, you can add a touch of water on the back to make them stick to the fondant below, but NOT TOO MUCH.
To make the head, cute a black Dot candy or licorice gumdrop in half. These are so sticky they will stick all by themselves.

For the antenne – use a toothpick and make a hole close to the ladybug ‘head’. Cut a small piece of black lace licorice and insert it into the hole. You shouldn’t have a problem with it staying put, but you can put a little bit of frosting on the end to make sure it stays in place.
I like these to look like they are ‘floating’ on top of the cupcakes, to do that – put a small amount of frosting on the center of the cupcake, only about 1 Tablespoon. Then place the ladybug on top of the frosting and push down and twist.
NOW. Your cupcakes are complete! Yes, it was a little bit of work, but SO worth it. Especially when you have a pink ladybug birthday to celebrate!
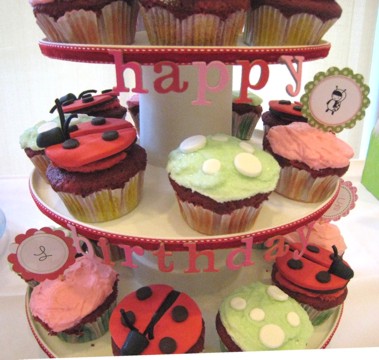



They came out super cute! And just think, no need to work out for at least a week since your arms are now so buff!
Awesome! These look great. Thanks for the step-by-step instructions. You really have a way with fondant. And who knew it was such an alternative exercise plan!
Oh, wow! This looks wonderful. I have to work up the courage to work with fondant.
Would you mind telling me where you got the clip art of the little girl dressed like a ladybug. My niece is turning 1 soon and we call her “ladybug” so she’ll be having a ladybug party. I’d love to use your clip art for her party.
Thanks! The cupcakes look AMAZING! 🙂 So cute.
@Angie
I didn’t make those, so I’m not sure!
They look wonderful!!! How Many hours did you spent in baking and decorating them!??
Greate pieces. Keep posting such kind of info on your site.
Im really impressed by your site.
Hi there, You have done an excellent job. I’ll certainly digg
it and individually recommend to my friends.
I am confident they will be benefited from this web site.
Ò¢ey there! This iis my first visit to your blog! We are a
team of volunteers and starting a new project in a community in the same niche.
Youur blog prß‹vided Õ½s valuable information to work on. You
have done а outstanding job!