Hello Kitty Fondant how to
If there’s one thing I know like the back of my hand, it’s Hello Kitty. So I’ve been wanting to do some Hello Kitty fondant work for a while.
you need:
white fondant
yellow gel dye
red gel dye
black gel dye
some delicious cupcakes!
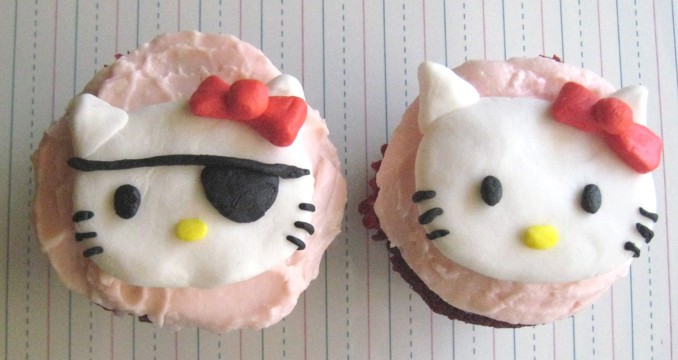
Obviously you only need to dye VERY LITTLE of the fondant yellow, since it is just for the itty bitty noses. If you look at Hello Kitty’s head it’s basically an oval, so I started by making a roundish oval. I then made little pointy triangles for ears, oval nose, oval black eyes – and there you have the basic face.
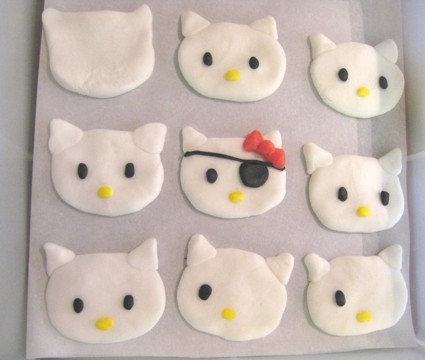
The red bow is just two rounded end triangles put poit to point, with a big ‘ol circle in the middle. When you add the bow in red you know it’s Hello Kitty. The bow is rather large and takes up quite a bit of the side of the face.
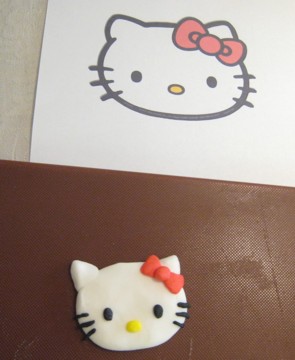
What I never really realized is how much the whiskers make a difference. I sometimes forget they are there, but when you don’t put them on the face, it seems somehow incomplete.
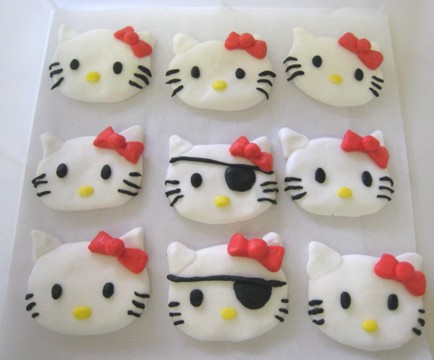
I also made a few Pirate Kitty faces cause pirates make everything more awesome.
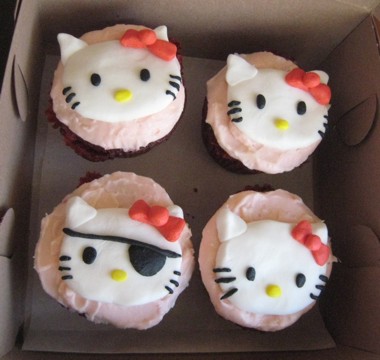
Hello Kitty is a great intro to fondant since the basics of the head is white. Along with small dyed pieces, the whole face comes together rather quickly.



Creative Hello Kitty cupcakes! I adore Hello Kitty as well hehe.
We met at the Renegade Fair on Sunday with my friend (who bought the adorable ‘Ninja Please’ card), and I picked up a business(?) card with the URL on it. I remember seeing the green tea ice cream cupcakes on the card, and I’m so glad to have came across this blog! As a fellow avid baker, I love food and food blogs, so I’m definitely adding this to my feed. 🙂 I want to try that green tea ice cream recipe as well, but I haven’t touched my ice cream maker in over a year! D:
these are ADORABLE!!
but how do you make the fondant?
i’ve tried many times making it with marshmellow but it always turn into a waste. hahaha
hi this is a really good ingrediants i tried it and they came out perfect