Sabrina the Teenage Witch Salem Cat Cookies
If you’re not familiar with Sabrina the Teenage Witch and the Archie universe, now is the perfect time to jump in! Kelly Thompson, Veronica Fish, Andy Fish, and Jack Morelli make up the fantastic new team kicking off this brand new series.
Sabrina is a teen witch who’s struggling with balancing the double life of high school and her burgeoning powers. Newly relocated to Greendale with her aunts Hilda and Zelda (also witches), Sabrina is trying to make the best of being the new girl in town which so far includes two intriguing love interests, an instant rivalry, a couple of misfits that could turn into BFFs, and trying to save the high school (and maybe the world) from crazy supernatural events. NBD!
That’s all fine—but to me, Salem is the star of the show. An adorable black cat, Salem Saberhagen is more than meets the eye. He’s a former witch who’s doomed to spend 100 years as a cat as punishment for trying to take over the world, like you do. I mean look at him:
That face.
You just can’t resist…THAT FACE.
My own little tributes to Salem aren’t doomed, they’re cookies! Which I guess means bad news for the cookies but good news for your stomach.
These little edible felines may not be as witty as Salem but they make tasty companions while you read through the entirety of the Sabrina graphic novel.
Sabrina the Teenage Witch is on sale now online on archiecomics.com and in brick and mortars wherever Archie comics are sold.
*Full disclosure: This book was gifted to me with no additional compensation. All opinions are my own.

Sabrina the Teenage Witch Salem Cat Cookies
Ingredients:
you’ll need:
cat cookie cutter
red icing
edible gold ball sprinkles
ingredients:
3 cups all-purpose flour
1/4 cup cocoa powder
1/2 teaspoon baking powder
pinch of salt
1 cup (2 sticks) unsalted butter, softened
1 cup sugar
1 egg
1/2 teaspoon vanilla
Instructions:
Step 1: In a bowl whisk together the flour, cocoa powder, baking powder, and salt. Set aside.
Step 2: In the bowl of an electric mixer cream the butter and the sugar. Add the egg and vanilla.
Step 3: Add the flour mixture until combined. When it pulls away from the sides of the bowl, the dough is ready.
Step 4: Wrap the dough in plastic wrap. Refrigerate until you are ready to use.
Step 5: Preheat the oven to 350 degrees. Prep baking sheets with parchment or silpats.
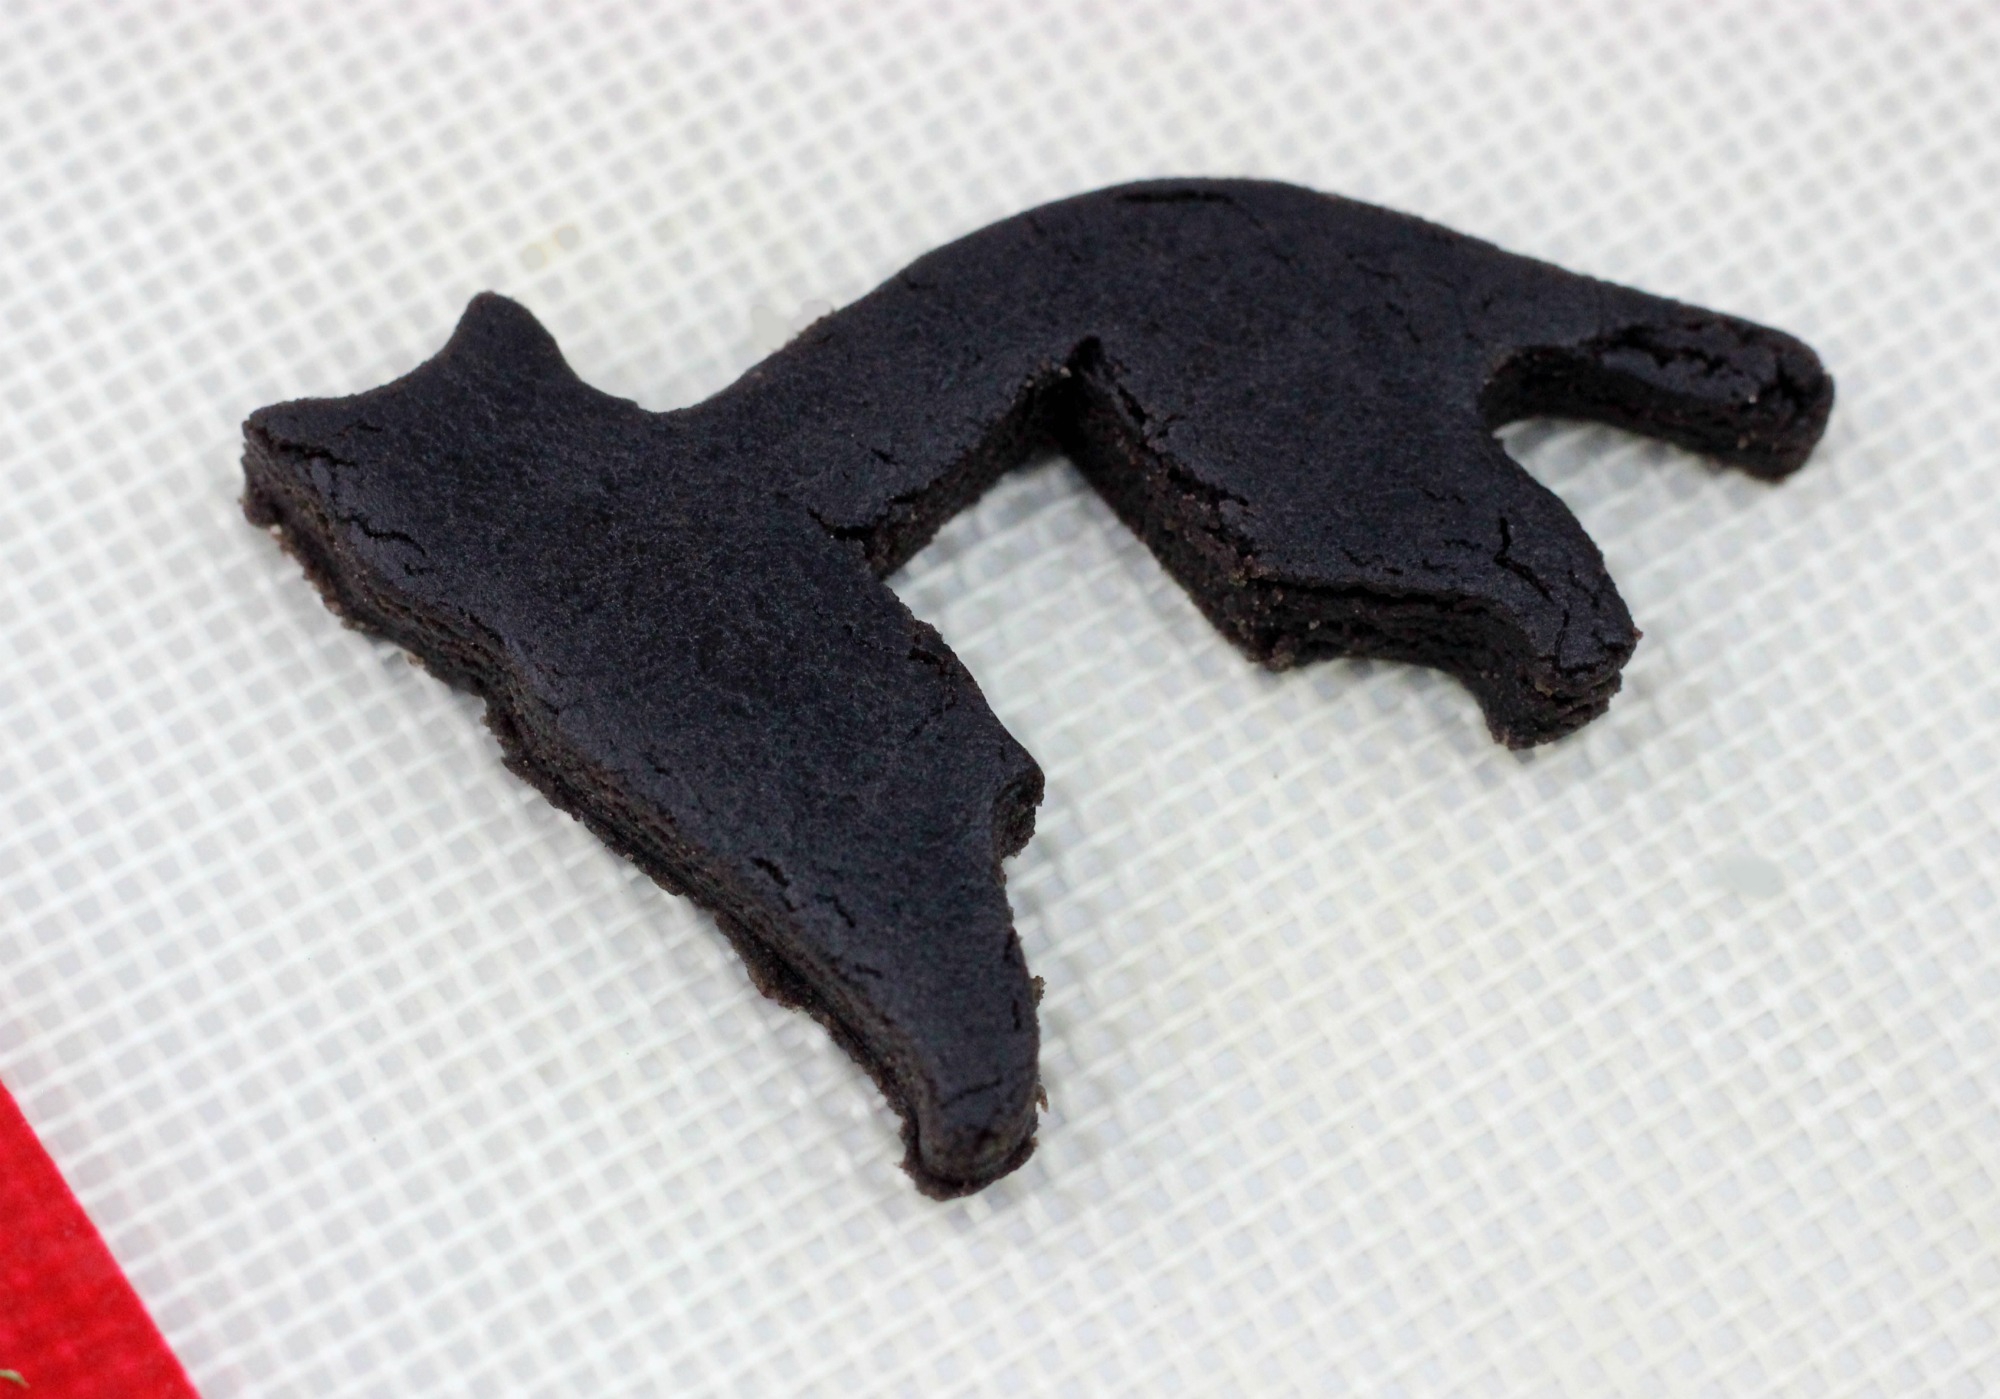
Step 6: Roll out the dough and use the cookie cutter to cut out shapes.
Step 7: Place the cookies on the prepped cookie sheets. If you’re making hanging cookies, use a knife to cut out a 1/8 to 1/4 inch slit into the center of the cookie.
Step 8: Bake for 10 minutes, let cool on a wire rack.
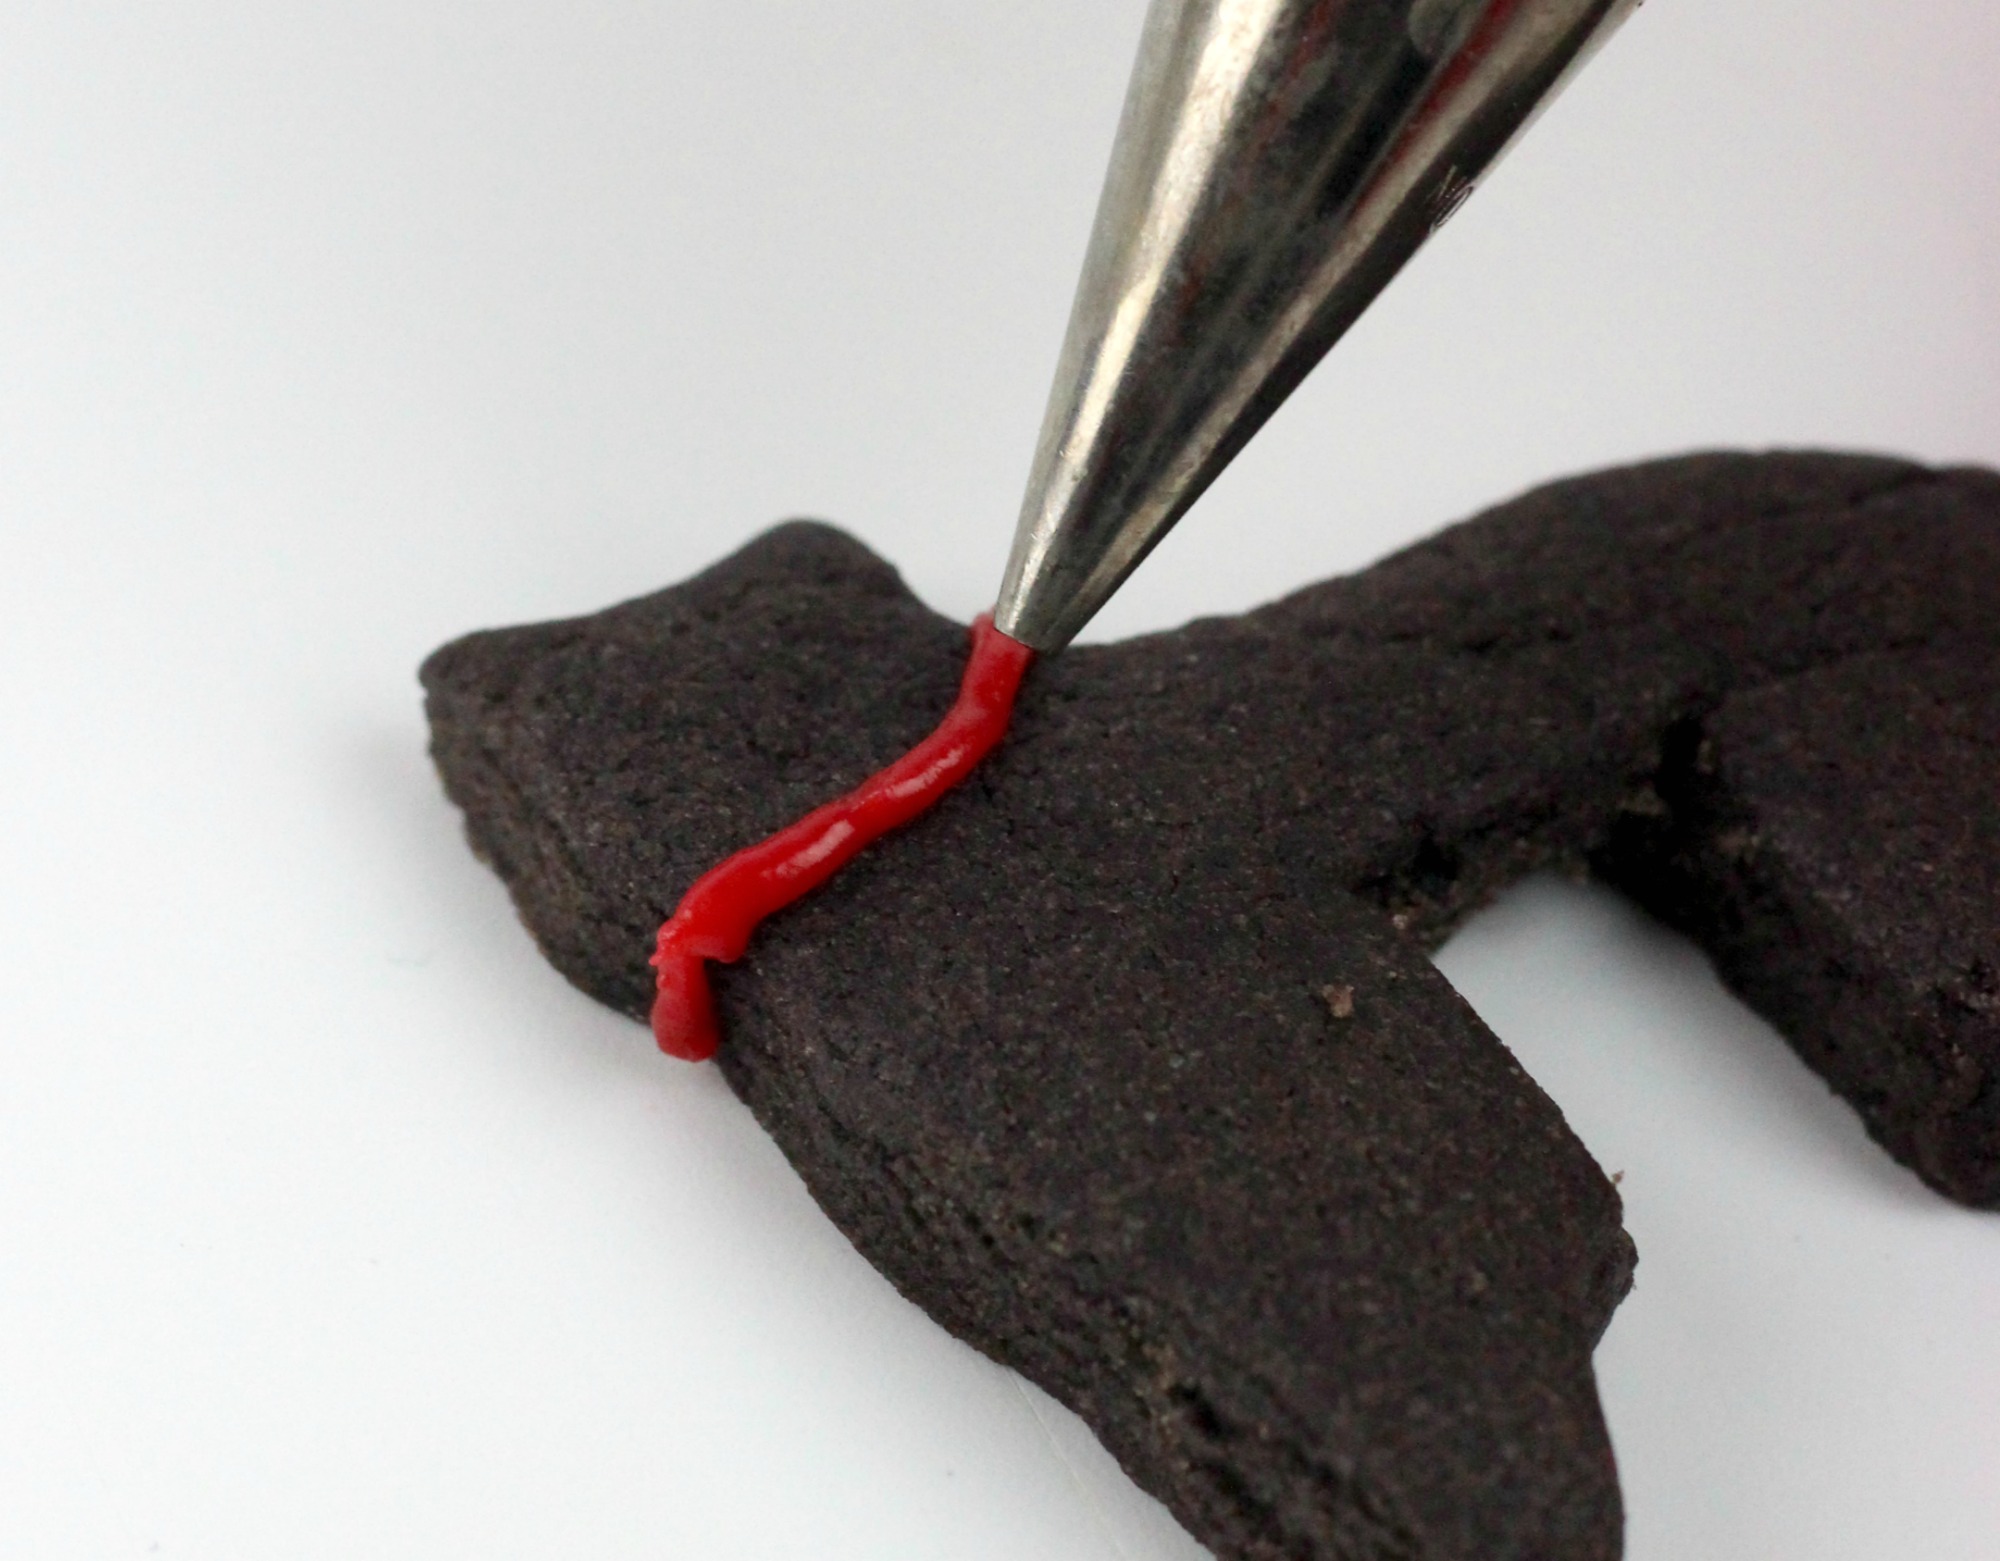
Step 9: With a #3 tip, pipe a small line of red icing to create the collar around the neck.
Step 10: Place a gold ball in the center for his tag.
Step 11: Once the icing has dried the cookies are ready to serve. Place the hanging cookies on the side of a mug of your favorite beverage.


